Today I’ll talk about how to deploy artifacts to Sonatype Nexus repository using Maven deploy plugin.
Prerequisite
Prepare Nexus server in local:
- Download Nexus Repository OSS
- Unzip the downloaded file
-
Start the server
$ bin/nexus start - Visit http://localhost:8081/
- Sign in with username
adminand passwordadmin123
Create a Maven project for demo propose:
$ mvn archetype:generate \
  -DgroupId=com.mycompany \
  -DartifactId=demo \
  -DarchetypeArtifactId=maven-archetype-quickstart \
  -DinteractiveMode=false
Declare Maven Deploy Plugin
Declare Maven deploy plugin in the parent POM. It’s the same no matter
your project is a single module project or a multi-modules project. The parent
pom.xml file is located in project’s root directory.
Define the version of Maven deploy plugin:
<!-- file: /Users/mincong/demo/pom.xml -->
<project>
  ...
  <build>
    ...
    <pluginManagement>
      <plugins>
        <plugin>
          <groupId>org.apache.maven.plugins</groupId>
          <artifactId>maven-deploy-plugin</artifactId>
          <version>2.8.2</version>
        </plugin>
      </plugins>
    </pluginManagement>
  </build>
</project>
Use the plugin for deployment:
<!-- file: /Users/mincong/demo/pom.xml -->
<project>
  ...
  <build>
    ...
    <plugins>
      <plugin>
        <groupId>org.apache.maven.plugins</groupId>
        <artifactId>maven-deploy-plugin</artifactId>
      </plugin>
    </plugins>
  </build>
</project>
Configure Nexus
Define the ID and URL of your Nexus repository in the project’s parent
pom.xml:
<!-- file: /Users/mincong/demo/pom.xml -->
<project>
  ...
  <distributionManagement>
    <snapshotRepository>
      <id>nexus-snapshots</id>
      <url>http://localhost:8081/repository/maven-snapshots/</url>
    </snapshotRepository>
  </distributionManagement>
</project>
Add username and password in Maven global settings (~/.m2/settings.xml):
<!-- file: /Users/mincong/.m2/settings.xml -->
<settings>
  <servers>
    <server>
      <id>nexus-snapshots</id>
      <username>admin</username>
      <password>admin123</password>
    </server>
  </servers>
</settings>IMPORTANT: You should NOT keep your password in plain text in settings.xml. See Maven official page Password Encryption for the encryption guideline.
Build and Deploy Artifacts
There’re 2 possible solutions: one-step deploy or multi-steps deploy.
One-step deploy runs tests, installation, and deploy in a single command:
$ mvn clean deploy
Multi-steps deploy runs different commands in different steps. Firstly, run install command (which implies comile, test, and install). Once done sucessfully, deploy the results:
$ mvn clean install
$ mvn deploy -DskipTests -Dmaven.install.skip=true
Here’s the comparison of these two solutions:
| Item | One-Step Deploy | Multi-Steps Deploy |
|---|---|---|
| Maven commands | 1 commands | ≥ 2 commands |
| If no test failures, then… | All artifacts deployed | All artifacts deployed |
| If test failures, then… | Some artifacts deployed ⚠️ | No artifacts deployed |
Check Deployed Artifacts
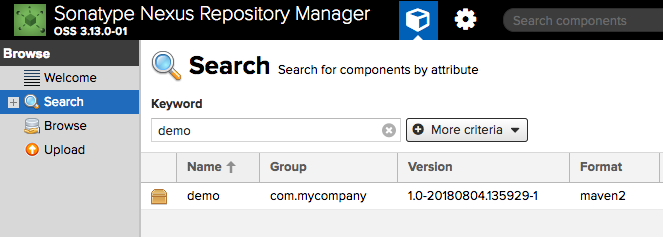
Now, go to http://localhost:8081 and check the uploaded results. You can see
that the project demo is available:
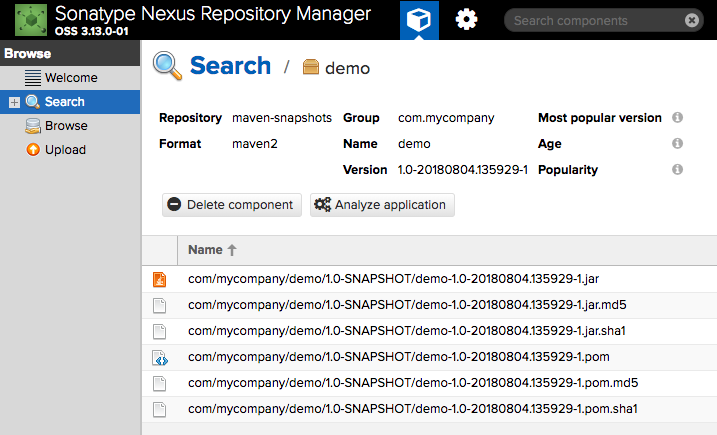
More detail when you click the page: