问题
在生产线上因为使用 Force Merge API 出现了红色索引:
"store_exception": {
    "type": "corrupt_index_exception",
    "reason": "failed engine (reason: [corrupt file (source: [force merge])]) (resource=preexisting_corruption)",
        "caused_by": {
        "type": "i_o_exception",
        "reason": "failed engine (reason: [corrupt file (source: [force merge])])",
        "caused_by": {
            "type": "corrupt_index_exception",
            "reason": "checksum failed (hardware problem?) : expected=70193aa8 actual=c48ab092 (resource=BufferedChecksumIndexInput(NIOFSIndexInput(path=\"/usr/share/elasticsearch/data/nodes/0/indices/w76sdoDFRm-xxxxxxxxxxx/0/index/_ke.fdt\")))"
        }
    }
}
因为该索引,使得整个 Elasticsearch 集群健康状态处于红色,需要紧急修复。
情况分析
初步排查:
- 该集群没有使用 Elasticsearch Snapshot 进行备份
- 索引没有正在被写入新数据,数据都是两周之前的旧数据,基本属于只读状态。
- 试过重启相应的数据节点,没有好转
在 Elastic 论坛搜到类似的情况,有人遇到损坏的索引需要修复 Corrupted elastic index:
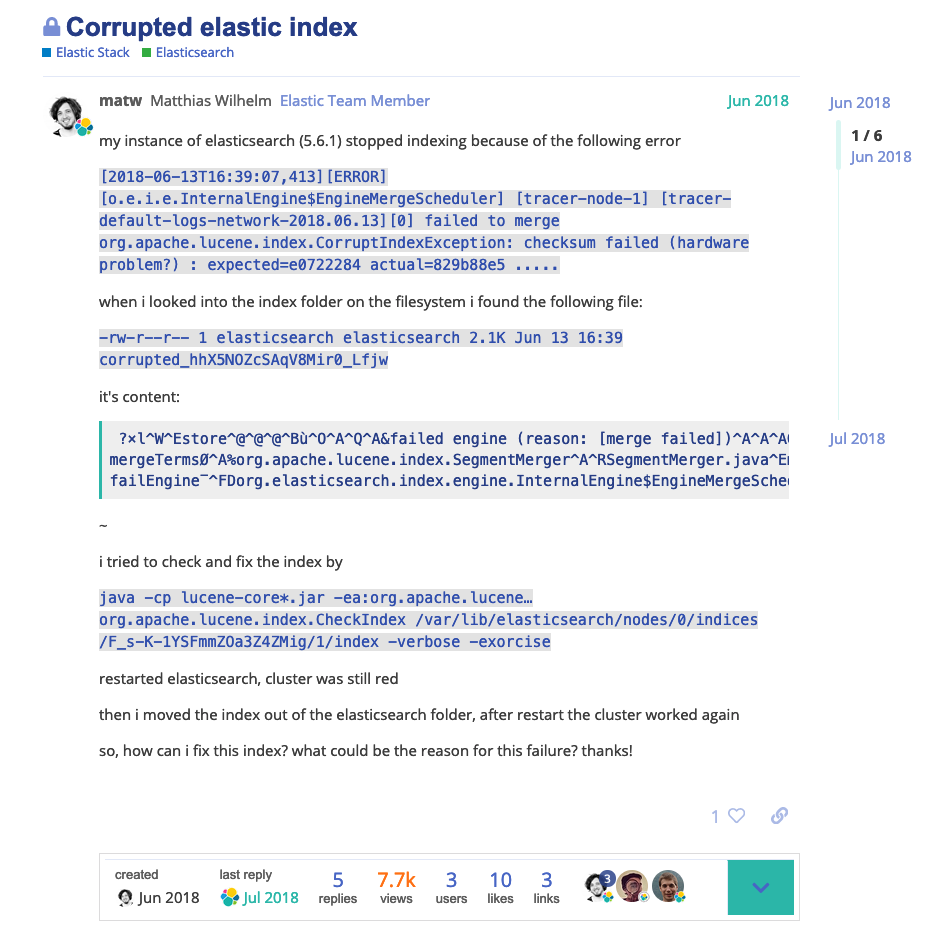
论坛问题中,Thiago Souza 先生和 Yannick Welsch 先生各提供了一个解决方案。下面我们一起看看。
Thiago Souza 提供的潜在解决方案:
This is an indication of either hardware errors (check dmesg) or that it maybe ran out of disk space.
At this point segments are corrupted and data is lost, meaning that you can’t recover the whole index anymore. Unless you have a snapshot (which is recommended for production).
There are a couple of options to try to partially recover this index:
- Try to partially recover the corrupted shard:
- Close the index.
- Set
index.shard.check_on_startup: fixfor this index. - Open the index. At this time index will start to be verified and may take a long time.
- If it recovers, then you need to redo step 1 to 3 but set
index.shard.check_on_startup: falseotherwise it will always try to fix when it opens again.
- If shard can’t be partially recovered then the only way is to completely drop it so at least the index can be recovered with the other healthy shards. For doing that you could try the
allocate_empty_primarycommand of Cluster Reroute API 109.
None of these are guaranteed to work as it is highly dependent of the type of damage.
Yannick Welsch 提供的潜在解决方案:
Note that the corruption marker file corrupted_* will prevent the shard from being allocated as primary. This file is managed by Elasticsearch, and is unaware of the fact that you’ve fixed the index using Lucene’s CheckIndex. Removing this failure marker file should allow this shard to be allocated again.
解决步骤
接下来,我们尝试以下两位大神的方案。
第一步:尝试修复索引
尝试 Thiago Souza 的建议,来局部修复被损坏的分片:
- Try to partially recover the corrupted shard:
- Close the index.
1.1 使用 Close Index API (7.x) 关闭索引:
curl -X POST localhost:9200/MY_INDEX/_close
注意,在关闭索引后,索引将无法写入新的数据。
- Set
index.shard.check_on_startup: fixfor this index.
1.2 添加配置索引层面的配置 index.shard.check_on_startup: fix 使得索引启动的时侯能够执行相应的检查。可是,在 Elasticsearch 7.0 以后,fix 这个选项被永久移除,已经不能使用。我们来看看官方文档 Index Modules (6.8) 关于 index.shard.check_on_startup 的说明:
Whether or not shards should be checked for corruption before opening. When corruption is detected, it will prevent the shard from being opened.
在分片打开之前,是否需要检查数据损坏情况。如果检查到数据损坏,那么分片不能被打开。它接受以下的配置:
| 选项 | 描述 |
|---|---|
| false | (default) Don’t check for corruption when opening a shard. 默认,打开分片时不检查数据数据损坏。 |
| checksum | Check for physical corruption. 检查物理损坏。 |
| true | Check for both physical and logical corruption. This is much more expensive in terms of CPU and memory usage. 检查物理损坏和逻辑损坏。这是一个昂贵的操作,很耗 CPU 和内存。 |
| fix | The same as false. This option is deprecated and will be completely removed in 7.0. 跟 false 一样。这个选项已经被废弃,在 7.0 以后被永久移除(注:在 PR-32279 被废弃) |
所以对于 Elasticsearch 7.x 的集群,应该尝试:
curl -X PUT localhost:9200/MY_INDEX/_settings \
  -H 'Content-Type: application/json' -d'
{
  "index.shard.check_on_startup": false
}
'
不过我认为这个选项已经无效了,因为 false 意味着什么损坏都没有检查和修复。而且在文章开头【排查问题】部分的时候已经说过,重启数据节点都没有使情况好转,问题一直存在。我也尝试了 true,也没有修复任何东西。
- If it recovers, then you need to redo step 1 to 3 but set
index.shard.check_on_startup: falseotherwise it will always try to fix when it opens again.
1.4 跳过这一步,因为上一步都没有成功,没有继续下去的必要。再进行下一步之前,清除上文设置的配置,恢复默认配置。
第二步:接受数据丢失?
- If shard can’t be partially recovered then the only way is to completely drop it so at least the index can be recovered with the other healthy shards. For doing that you could try the
allocate_empty_primarycommand of Cluster Reroute API (7.x).
作为一个数据工程师怎么能随便接受数据丢失?(微笑脸)不能接受!先看看 Yannick Welsch 先生的建议吧。
第三步:通过 Lucene 层面修复
根据 Matthias Wilhelm 先生的原步骤尝试修复数据,也就是:
- 远程登录数据节点
- 执行 Lucene 修复工具 CheckIndex
- 移除数据损坏的标记文件
corrupted_*,使得 Elasticsearch 能正常启动
下面进行具体操作。
第一点,可以通过 Elasticsearch 的 Explain API (7.x) 找到对应的无法分配的分片以及它所在的机器。然后远程登录该机器。
第二点,修复分片(也就是 Lucene Index)。这个在 Lucene 的 Javadoc 有详细记录,比如 CheckIndex (Lucene 6.4.0 API)
Command-line interface to check and exorcise corrupt segments from an index.
Run it like this:
java -ea:org.apache.lucene... org.apache.lucene.index.CheckIndex pathToIndex [-exorcise] [-verbose] [-segment X] [-segment Y]


-exorcise: actually write a new segments_N file, removing any problematic segments. *LOSES DATA*
-segment X: only check the specified segment(s). This can be specified multiple times, to check more than one segment, eg -segment _2 -segment _a. You can't use this with the -exorcise option.
WARNING:
-exorciseshould only be used on an emergency basis as it will cause documents (perhaps many) to be permanently removed from the index. Always make a backup copy of your index before running this! Do not run this tool on an index that is actively being written to. You have been warned!Run without
-exorcise, this tool will open the index, report version information and report any exceptions it hits and what action it would take if -exorcise were specified. With-exorcise, this tool will remove any segments that have issues and write a new segments_N file. This means all documents contained in the affected segments will be removed.This tool exits with exit code 1 if the index cannot be opened or has any corruption, else 0.
警告:如果分片在被写入的情况下不要使用 -exorcise,可能造成数据损坏!而且建议先把数据备份再操作。具体描述,请见英语原文。
确定想使用修复工具 CheckIndex 以后,还需要确认:
- Elasticsearch 分片的具体位置。如果一台机器只有一个 Elasticsearch 服务器运行的话,那应该是在
${ES_HOME}/data/nodes/0/indices/...下面的某个文件夹。具体路径可以在 Explain API 那边看到(见文章开头的 JSON 节选)。 - Elasticsearch library 的具体位置。应该是在
${ES_HOME}/lib。我们需要这个位置,因为它是 Lucene Core 的 JAR 文件存放地点。 - 决定是否要先备份分片,再执行修复。
一切都准备好以后,执行以下命令。注意 Lucene 后面的三个点是三个字符 dot,不是一个字符,因为有些操作系统/博客会把它们切换成另一个类似的字符。
cd /usr/share/elasticsearch/lib
java -cp lucene-core*.jar -ea:org.apache.lucene... org.apache.lucene.index.CheckIndex /usr/share/elasticsearch/data/nodes/0/indices/w76sdoDFRm-xxxxxxxxxxx/0/index -verbose -exorcise
执行完命令,CheckIndex 返回:
No problems were detected with this index.

Took 118.609 sec total.
呃。。。所以什么问题都没有?根本没有数据损坏?可能是遇到一个意外的情况,然后 Elasticsearch 没有正确地处理异常?
好吧。既然数据没有损坏,那下一步将数据损坏的标记文件 corrupted_* 移动到另一个文件夹(相当于移除)。不一会儿,Elasticsearch 的这个分片恢复了:它成功地被分配,在 Explain API 中再看不到它的存在。这个过程无需重启服务器。接下来,登录其他机器,对所有的相关红色分片(未成功分配的分片)进行同样的操作。最后,集群又变回了绿色,oh yeah!
结论
在本文中,我们看到了由于使用 Force Merge API 造成的红色索引。在 Elastic 论坛的帮助下,尝试通过 index.shard.check_on_startup: fix 进行数据修复,但是该选项在 Elasticsearch 7 中已经不复存在。我们看到了通过 allocate_empty_primary 可以接受部分数据丢失,并保留剩余健康的分片,但是我们没有这么做因为想拿回所有的数据。接下来,我们在 Lucene 层面通过 CheckIndex 工具进行修复,发现并没有数据损坏,其实是虚惊一场。最后移除数据损坏标签文件 corrupted_* 实现恢复。
希望这篇关于 Elasticsearch 实战的文章,能给你带来一些新的启发。如果你有兴趣了解更多关于 Elasticsearch 的资讯,欢迎关注我的 GitHub 账号 mincong-h 或者微信订阅号【码农小黄】。谢谢大家!
参考文献
- Matthias Wilhelm, “Corrupted elastic index”, Elastic.co, 2021. https://discuss.elastic.co/t/corrupted-elastic-index/135932